Creating a Voice enabled search app for Tizen using Houndify
by @siddarthkm
This article is about using the Houndify C# SDK of SoundHound to make a voice enabled smart assistant on Tizen. Houndify bundles together all technologies that a developer may need in order to implement such an application.
What is Houndify?
As described on the Houndify Developer Guide, “Houndify is a one stop destination for all of the technologies needed to Voice enable anything”. Houndify eliminates the multiple steps required in other solutions that offer to do the same (i.e. Natural Language Understanding, Speech to Text, Text to Speech, etc.), by offering them all in one single package.
You can target your client to specific domains offered by Houndify to narrow your search results. For example, when you are developing an App that returns weather results, you can specifically turn on the weather domain, and disable other domains like hotel search and so on.
Some example domains are:
-
Hotels
-
Flights
-
Weather
-
Translation
-
Currency conversion
-
Geography
-
Navigation, etc
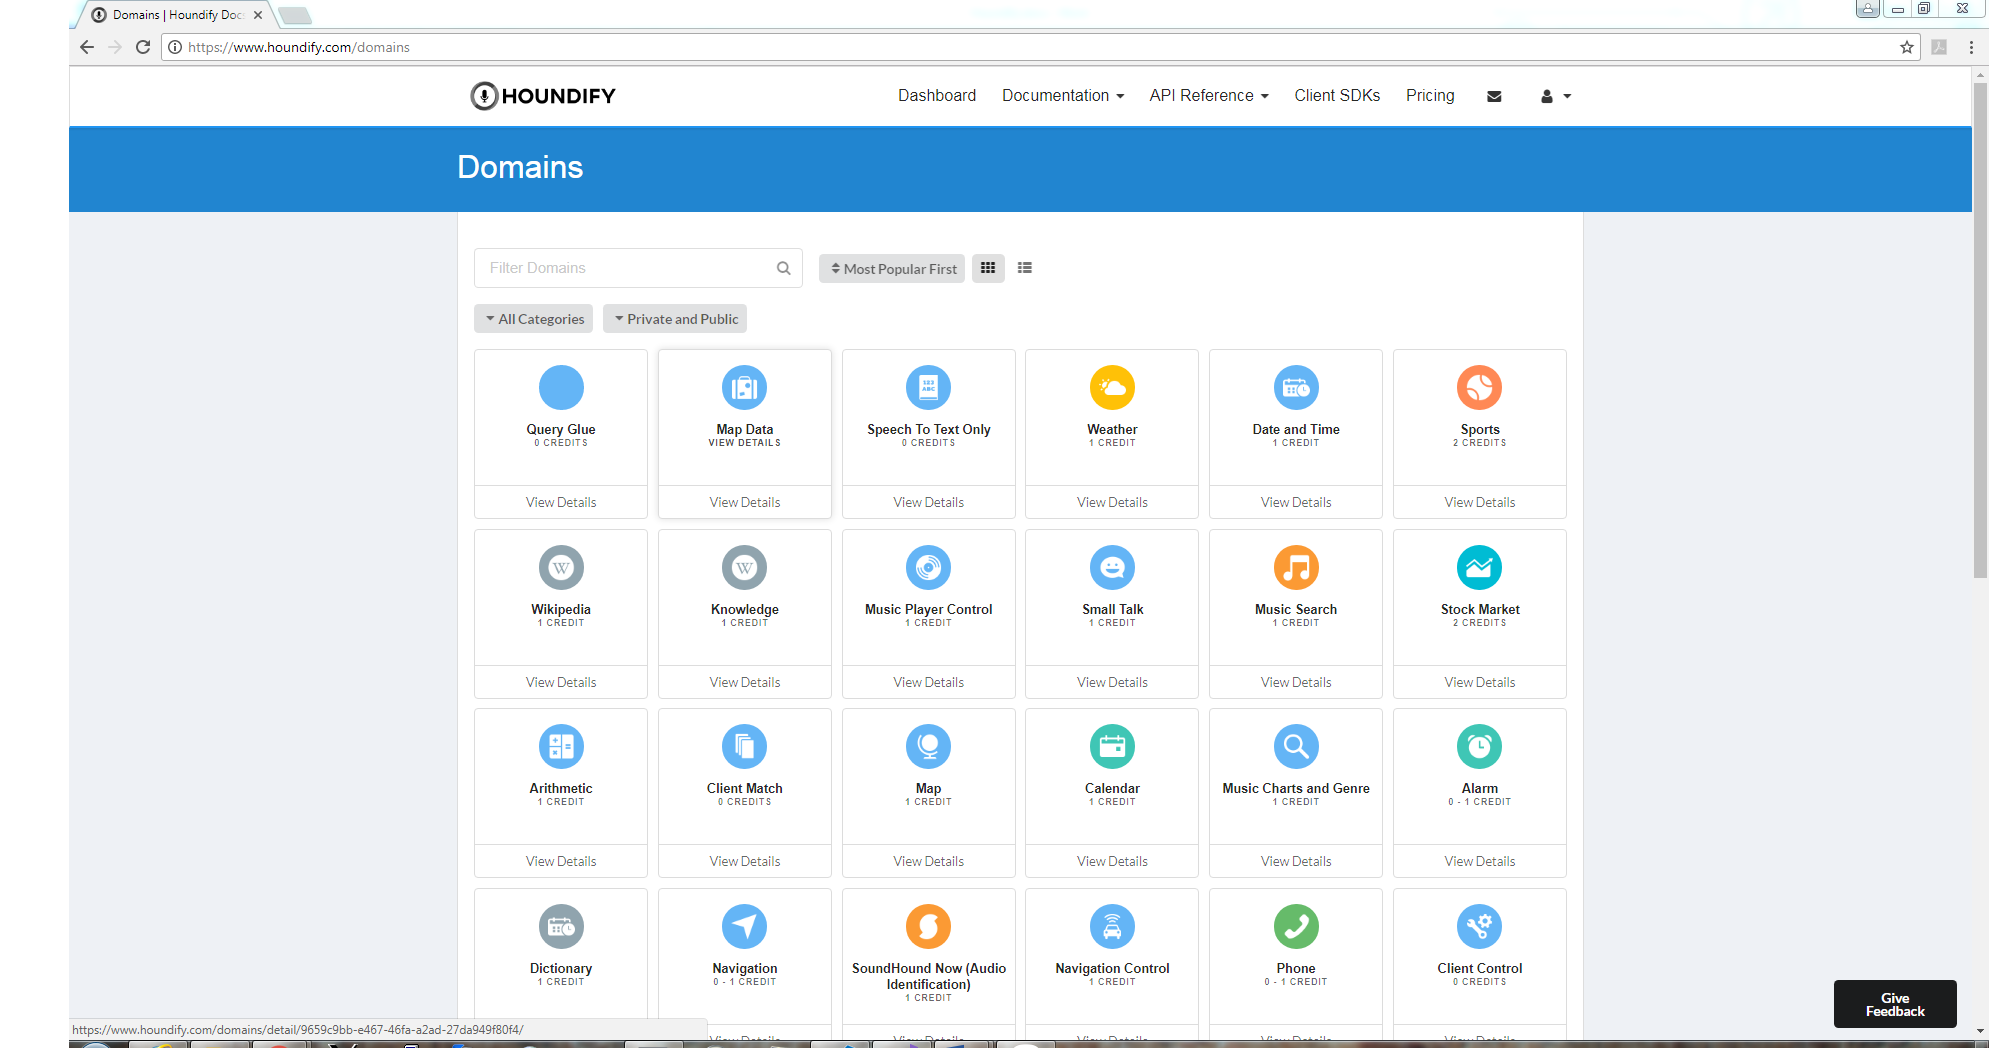
To see the complete list of domains offered by Houndify, refer to https://www.houndify.com/domains
Getting Started
Before starting to develop applications using Houndify, you need to create an account on https://www.houndify.com/.
Once you create an account and login, you will be redirected to the dashboard which would give you access to all the necessary documentation.
Creating your Client
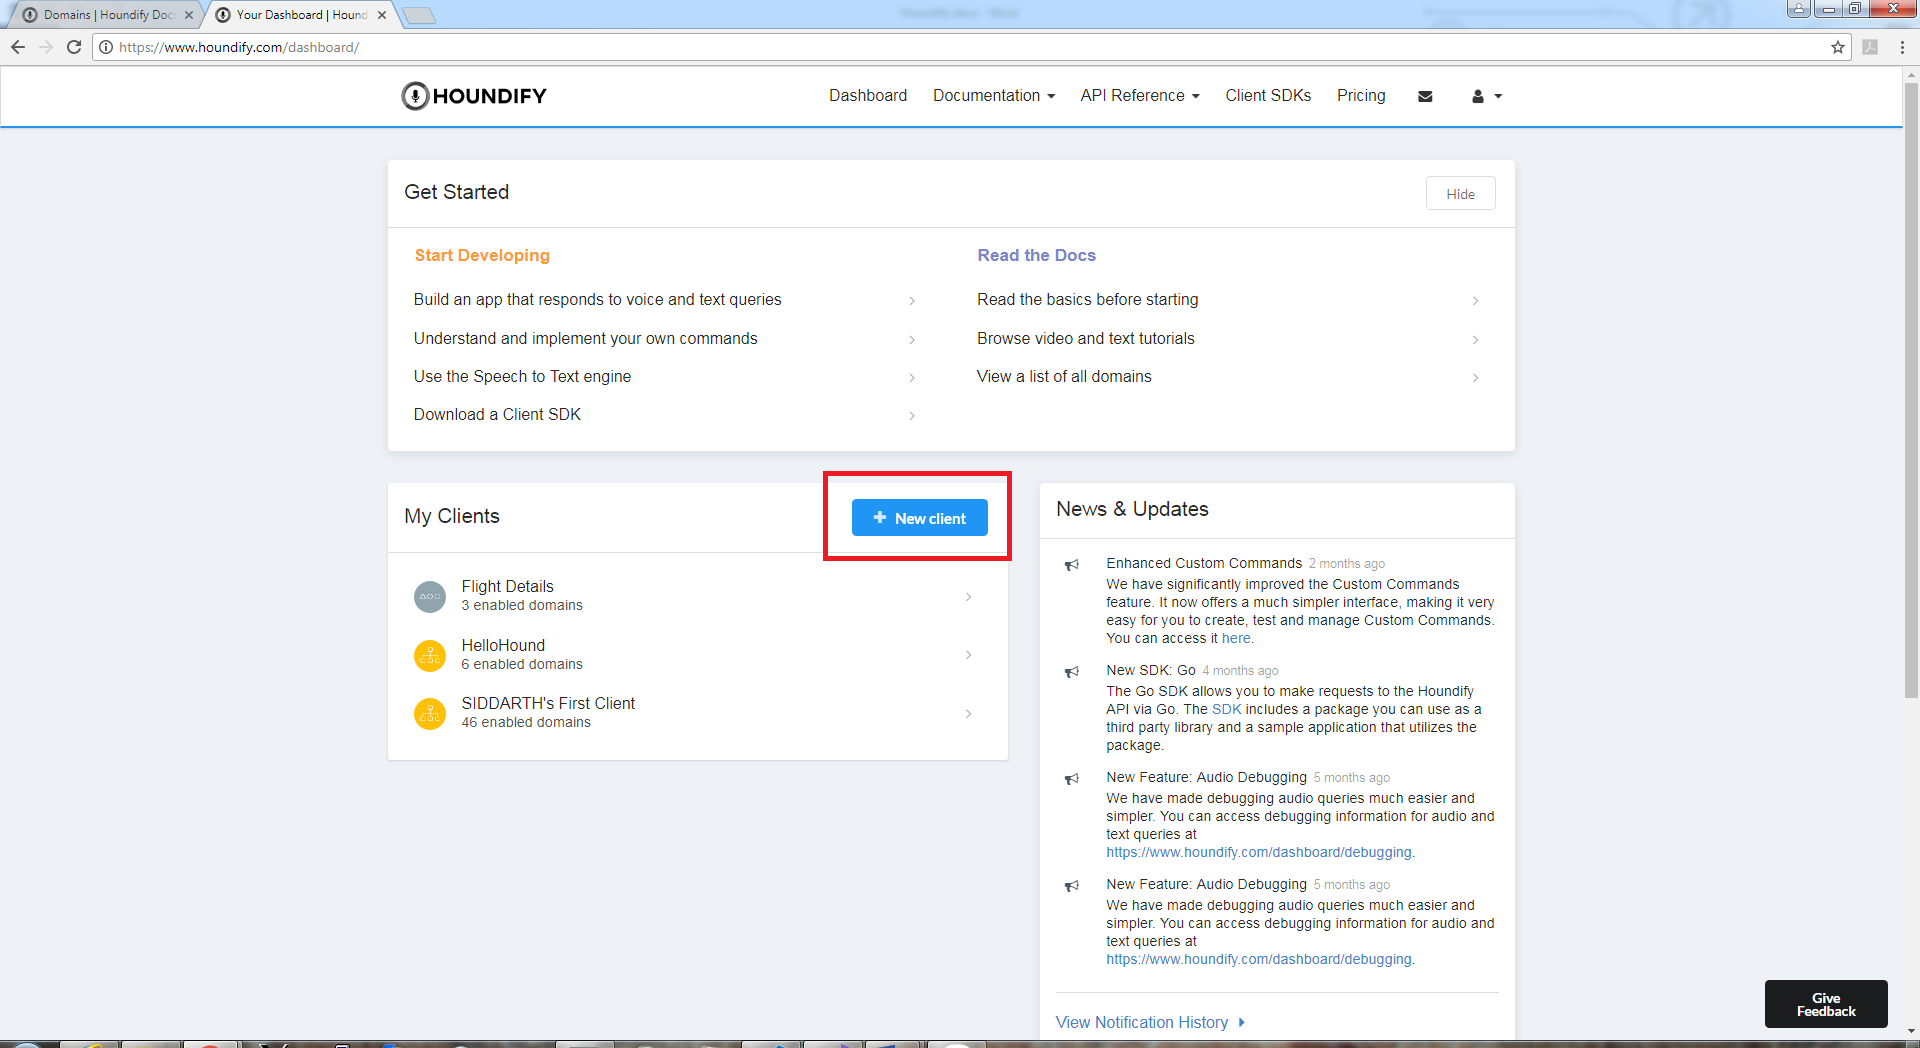
On the dashboard page, you can see a section that displays the list of clients you have created. You can use the Add New Client button to add a new client for your Voice Assistant App.
Once you click the Add New Client button, you will be prompted to enter a name for client and the platform it is targeting. After that you will be asked to choose from a list of domains, the domains you want your client to support. Now you are done. You can start querying your client immediately without any additional configuration.
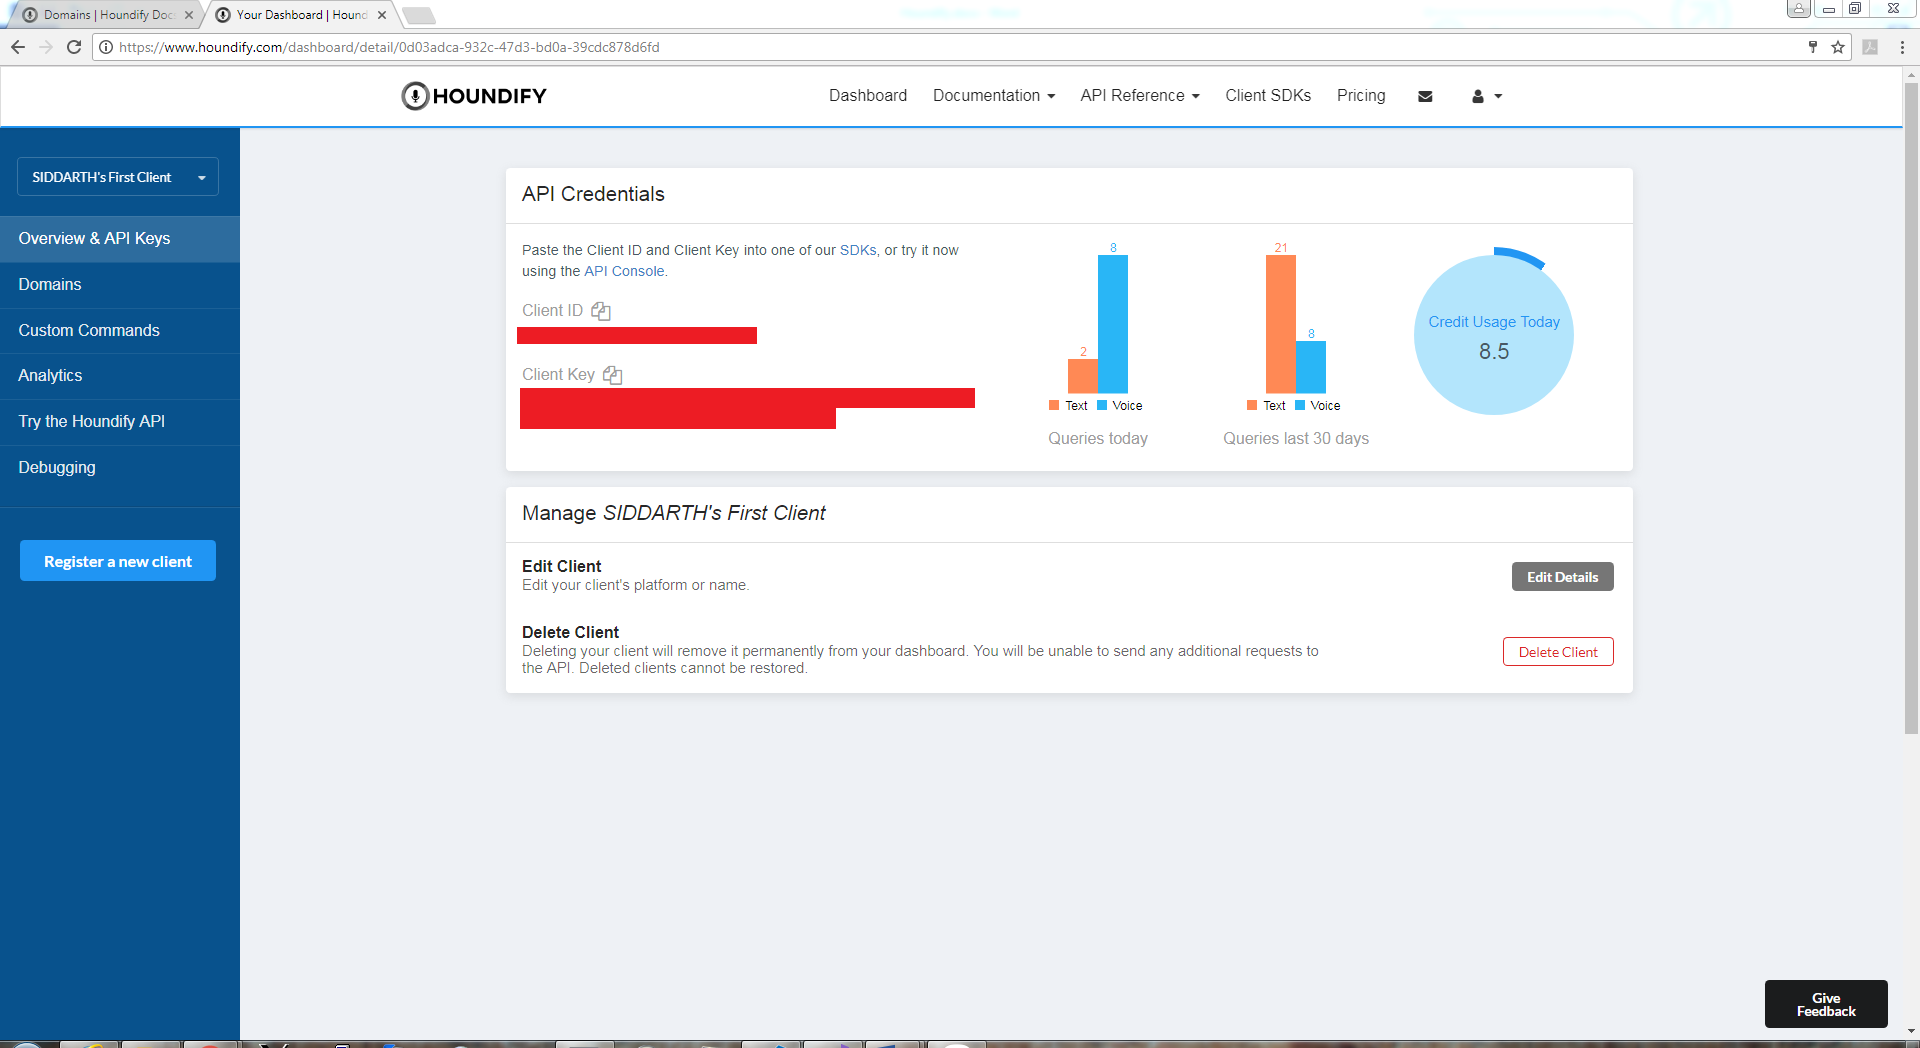
After you create your client, you will be directed to the dashboard page of your client. There, you will find the Client ID and Client Key. Make a note of these Credentials as they will be used by your app to authenticate itself while making requests.
The Houndify C# SDK
Houndify offers SDKs in multiple languages. We are interested in the C# SDK which we would use to create a simple Tizen Xamarin Forms Application. The SDK can be found at https://www.houndify.com/sdks#CSharp.
Houndify offers two versions of the SDK
-
Standard SDK, and
-
Slim SDK
The difference is that, the standard SDK offers specific C# JSON classes for each individual domain, and Slim SDK contains generic C# JSON classes applicable to all domains. In this article we will look into using the Slim SDK. However, the Standard SDK can be used as well.
Creating the Client App
-
Before creating the application on Tizen, download and extract the SDK sources for the Houndiy Slim C# SDK from the link mentioned above, or by clicking here.
-
We will be using a Tizen Xamarin Application to query the Houndify Client we created on the Houndify dashbord. Create a Tizen Xamarin Forms Single Application. If you are not familiar with the creation of a Tizen Xamarin Forms Application, refer here.
-
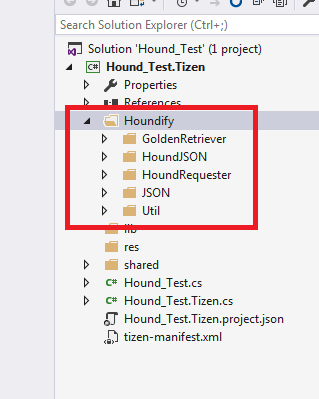
Once you create the Xamarin Forms Application, you need to add the SDK source files to your Tizen application. To do that, right click on your project in the solution view and click on add existing Item. You do not need to add the SampleHoundDriver directory to the project.
-
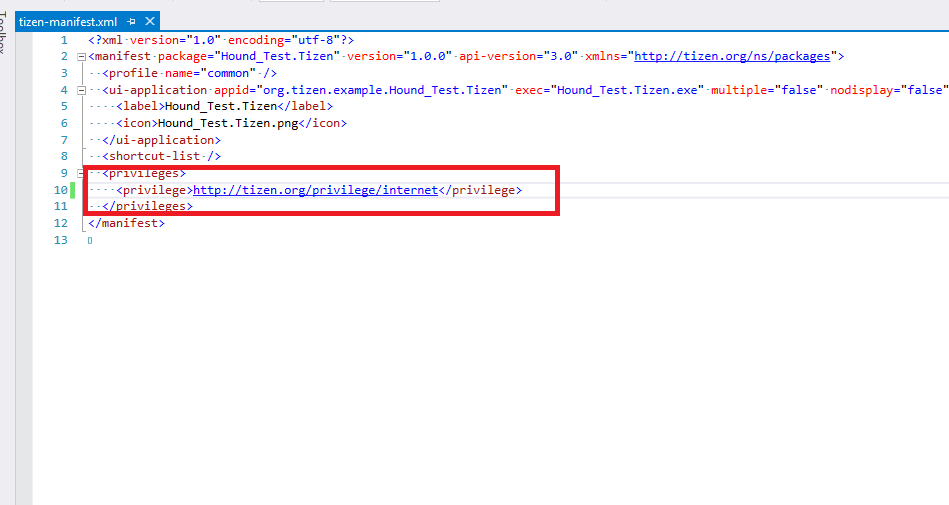
Also add the Tizen Internet Privilege to the tizen-manifest.xml file of your application:
    <privileges>
        <privilege>http://tizen.org/privilege/internet</privilege>
    </privileges>
(Note: Other privileges like recorder/ media access may be required when you use those resources for making voice requests. Please refer to the Tizen Website to know more about privileges)
You should now be able to make requests to the Houndify Server. The Houndify C# Slim SDK works out of the box in Tizen with .NET Core 2.0.
Below is a sample code explaining how to do so.
Sample Code
Creating the HoundRequester and the RequestInfo
// The HoundCloudRequester Class is used to make requests and receive responses from the Houndify Server
HoundCloudRequester requester = new HoundCloudRequester(client_id, client_key, user_id);

RequestInfoJSON.TypeClientVersion client_version =new RequestInfoJSON.TypeClientVersion();
client_version.key = 0;
client_version.choice0 = "1.0";

// RequestInfoJSON class contains metadata about the current request, like session_id, request id, client_version, etc
RequestInfoJSON request_info = new RequestInfoJSON();
request_info.setUnitPreference(RequestInfoJSON.TypeUnitPreference.UnitPreference_US);
request_info.setRequestID(Guid.NewGuid().ToString());
request_info.setSessionID(session_id);
request_info.setClientVersion(client_version);

// ConversationStateJSON class is used to maintain the continuity in the conversation with the client
ConversationStateJSON conversation_state = null;

// The HoundServerJSON class is used to handle all server responses
HoundServerJSON hound_result;
Making a Text Request
// The request_text, conversation_state and request_info are passed as arguments
hound_result = requester.do_text_request(request_text, conversation_state, request_info);
Partial Request Handler for Audio Request
// HoundRequester.PartialHandler is implemented to handle partial transcripts of audio requests
private class LocalPartialHandler : HoundRequester.PartialHandler
{
    private bool show_transcript;

    public LocalPartialHandler(bool init_show_transcript)
    {
        show_transcript = init_show_transcript;
    }

    // The handle method is called whenever a partial transcript is received by the client
    public override void handle(HoundPartialTranscriptJSON partial)
    {
        if (show_transcript)
       	{
            // Handle Partial Audio Transcripts
        }
    }
}
Making an Audio Request
// Create a HoundRequester.VoiceRequest object
HoundRequester.VoiceRequest request = requester.start_voice_request(conversation_state,
                                request_info, new LocalPartialHandler(true));

// The audio input is given as a byte array
byte[] buffer = new byte[2052];

// Keep looping until the request is completed
while(voice_request_exists)
{
    request.add_audio(count, buffer);
}

// Call finish() method to complete the audio request
hound_result = request.finish();
Processing the result
CommandResultJSON commandResult = hound_result.elementOfAllResults(0);

// This result string can be directly shown to the user. It is the Server's direct response to the user's query
String resultStr = commandResult.getWrittenResponseLong();

// Retrieve the conversation state from the reply and save for the next add to the next query to maintain continuity
if (commandResult.hasConversationState())
{
    conversation_state = commandResult.getConversationState();
}

// Certain queries also send special responses along with the written/spoken responses
// In this case, we check if the response has HTML content and retrieve it
if (commandResult.hasHTMLData())
{
    // HTML response can be displayed to the user alongside the written/spoken response, in a WebView if the developer chooses
	String html = commandResult.getHTMLData().getSmallScreenURL(); //also getSmallScreenHTML()
}
Explanation
-
First, we create an instance of the HoundRequester class. Here you would pass the clientID and clientKey credentials obtained from the Houndify Dashboard, along with a unique identifier for your user. This object would be used for sending and receiving requests to/from the Houndify Server.
-
Next we create an instance of the RequestInfoJSON class which would contain some metadata about our request, like sessionID, requestID, client version, etc.
-
Once we create the Requester instance and RequestInfo instance, we can start querying
Text Request:
- Making a text request is simple. Just call the HoundCloudRequester.do_text_request(), with the input text, conversation state and request_info as arguments
Audio Request:
-
Before making an audio request, you need to make and declare an instance of the HoundRequester.PartialHandler class. This is used for handling partial transcripts of the audio request you would send. You may choose to ignore the partial transcripts or process them however you like.
-
To make the audio request, you need to use the HoundRequester.start_voice_request() method to create a HoundRequest.VoiceRequest instance. You can then query the instance by sending your voice request into byte arrays. Once your request is completed, call the HoundRequester.VoiceRequest.finish() method to complete the voice request.
-
You can get the CommandResultJSON object from the result of your request, by calling the HoundServerJSON.elementOfAllResults(). The CommandResult object contains the server response, which can be obtained by getWrittenResponseLong().
In some cases, for example, when you query the weather, you also get special responses like HTML data, which would contain additional information. You can utilize extract them from the CommandResponse using methods like getSmallScreenHTML(), get smallScreenURL(), etc.
What we learnt today?
SoundHound’s Houndify SDK can be used by developers to create simple voice enabled solutions for Tizen. Houndify offers all the technologies for this at one place, so there is not much configuration required to start, with a simple application.
However, as your solution becomes complicated, you may want to use custom commands, etc. They are supported by Houndify too. For more information, please refer to the Houndify Docs and tutorials.
References
-
Tizen Developers page: https://developer.tizen.org/
-
Houndify Dashboard: https://www.houndify.com/dashboard/
-
Houndify Developer Guide: https://www.houndify.com/docs
-
Houndify API Reference: https://docs.houndify.com/reference
-
Houndify C# SDK: https://www.houndify.com/sdks#CSharp